Our Expedition Zero Guide for Beginners will tell you what you need to know to get started with this survival horror game from Enigmatic Machine.
What is Expedition Zero?
Expedition Zero is a survival horror game set in “the anomaly zone of the Northern Forest.” There’s not much more explanation provided beyond that, adding an air of mystery.
Don’t expect some big, epic adventure with gathering food and water or building a massive base. Expedition Zero only has a handful of mechanics to worry about and it’s a pretty short game overall.
With that out of the way, let’s get moving with the Expedition Zero Guide for Beginners!
Understanding Expedition Zero’s mechanics
These are the key mechanics you’ll need to understand in Expedition Zero.
Health
How much life you have. If this drops to zero, you die.
Temperature
How warm you are. As you’re outside in the cold, your temperature goes down. You can craft equipment to help slow down the decrease.
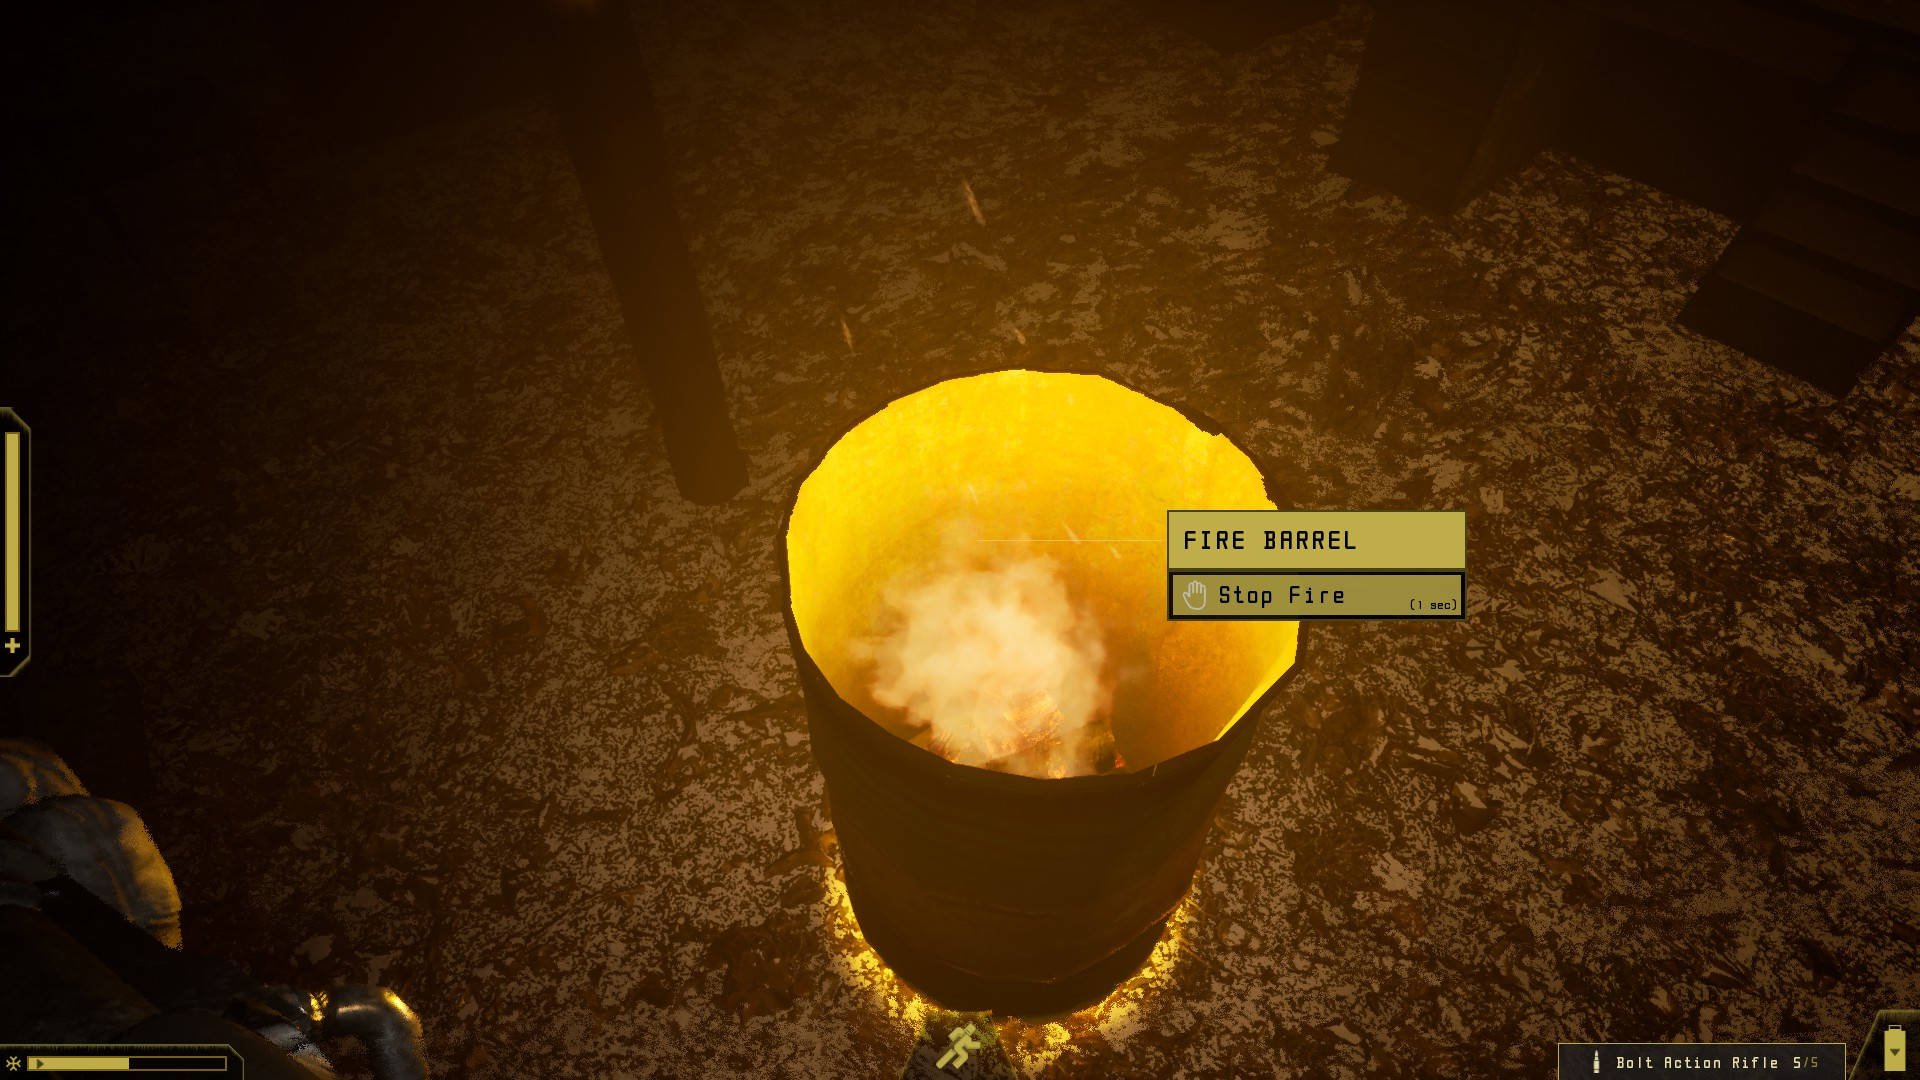
You can restore Temperature by lighting either a Fire Barrel or a Wood Stove, but you’ll need a Split Log or a Wood Log to do it. (I advise saving your Wood Logs — you can split each one into four Split Logs at a certain point on the map.)
Battery
Your Battery powers your Headlamp and other parts of add-on equipment. If it drops down to zero, this equipment won’t work anymore.
There are several charging stations spread throughout the game world. You can find additional batteries that can recharge your kit on the go, too.
Printers and Materials
You’ll find a lot of junk in Expedition Zero. These items can be broken down into Polymer Plastics, Metal, and Electrocomponents at any Printer. Printers can then be used to make a new piece of equipment.
Each Printer can produce one or two useful items. You can always return to a Printer later if you don’t want to craft a particular item right away.
Abnormalities
Anomalies are weird, otherworldly happenings in the game that include a corrupted church, a strange, red deer, and more. Your main objective in the early game is to figure out the mystery for each of these Anomalies and solve them.
Forest Monster
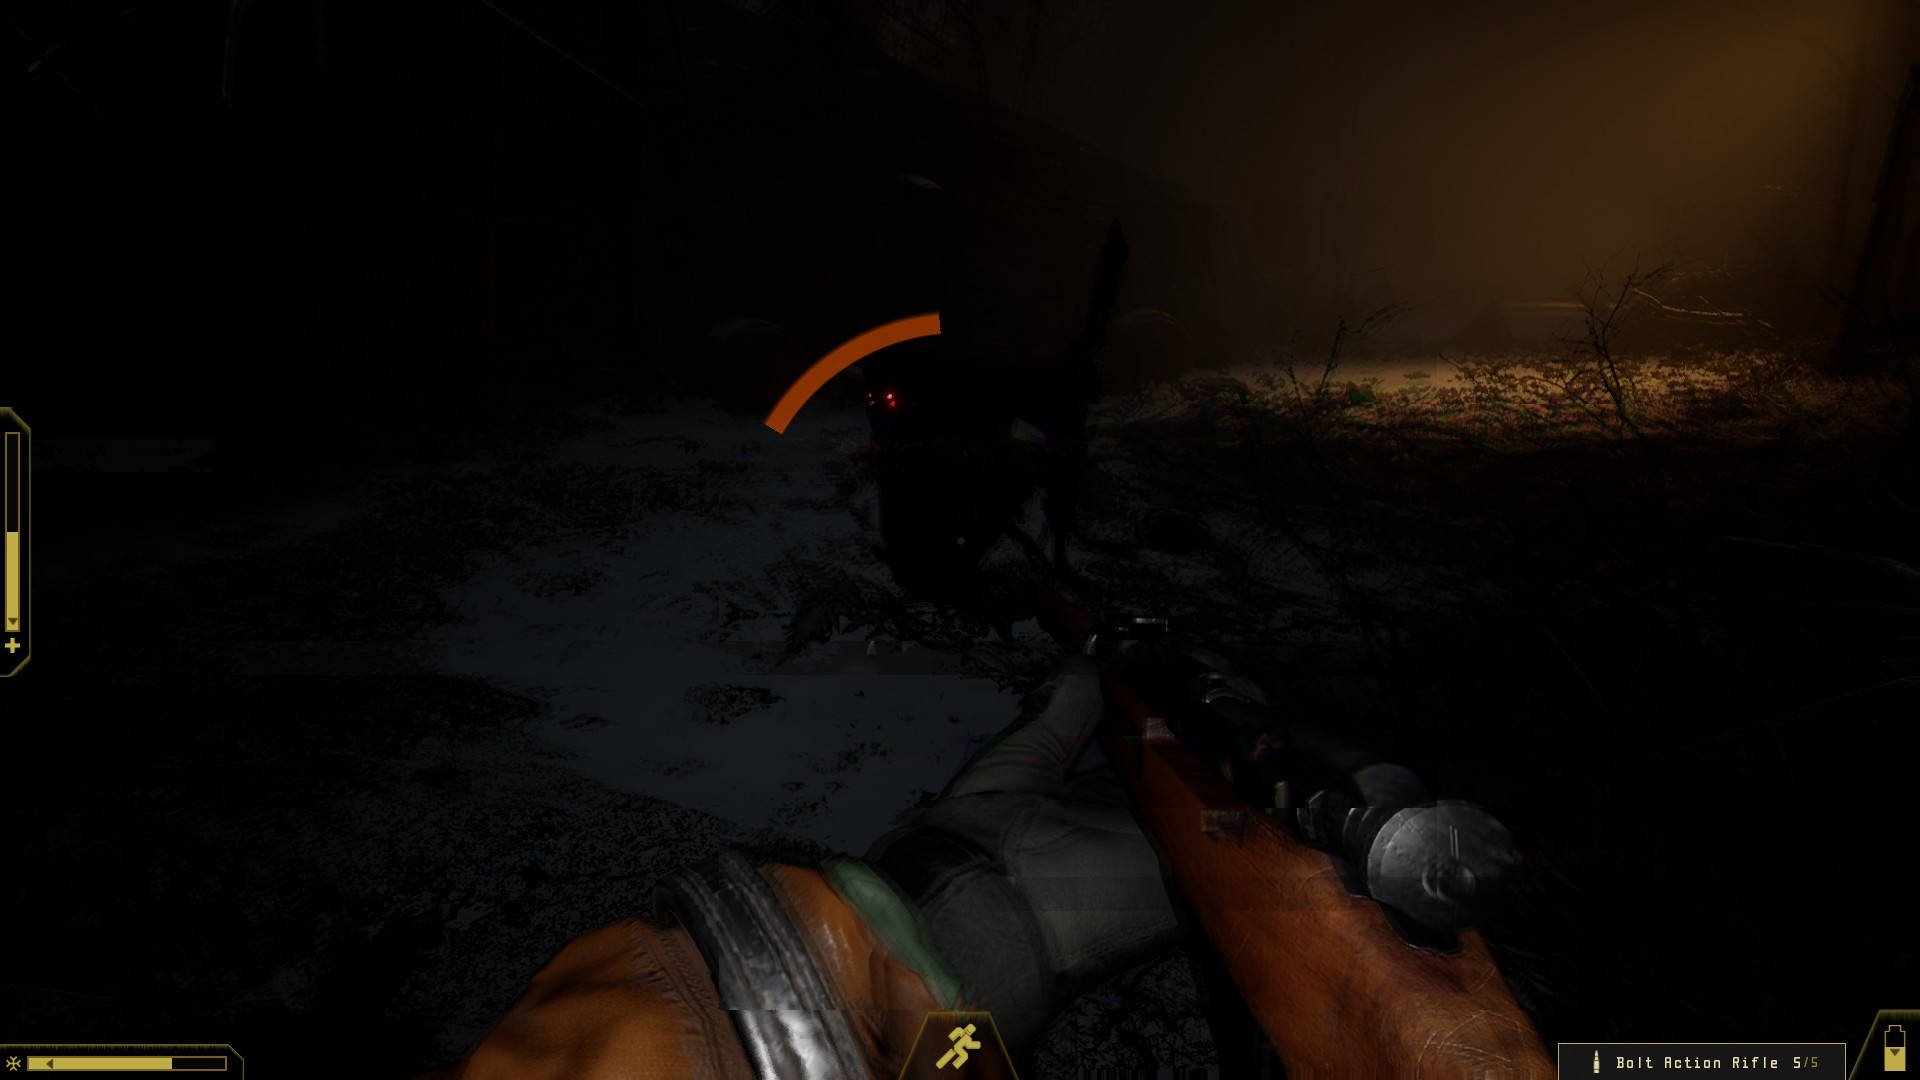
The Forest Monster is the main opponent in the game. It cannot be defeated at any point during the early hours. You’ll know the Forest Monster is getting near if you start seeing lines of distortion pop up on your screen.
If you see the Forest Monster moving near you, you’re going to want to shoot it and start running. The only way to survive is to get out of the immediate area.
Expedition Zero Guide for Beginners – Early Game Walkthrough
Now that we’ve got the basics established, it’s time to tackle an Expedition Zero walkthrough for the early parts of the game. Let’s get to it!
Getting Started
Our first step will be getting the cabin’s systems up and running. Head to the left, pick up a Jerry Can, fuel up the Old Generator. Turn it on. Then, pick up the other old Jerry Can nearby and head to the red front door. Open it up and listen to the radio.
Get the coordinates for your next location at the Broadcast Receiver. Equip the Backpack on the Desk, then set your respawn point on the Bed. Then, go back outside to the Sled. Stash the extra Jerry Can in your Sled’s storage, select Travel, and head to Wall.
Getting to the Trader at the Wall
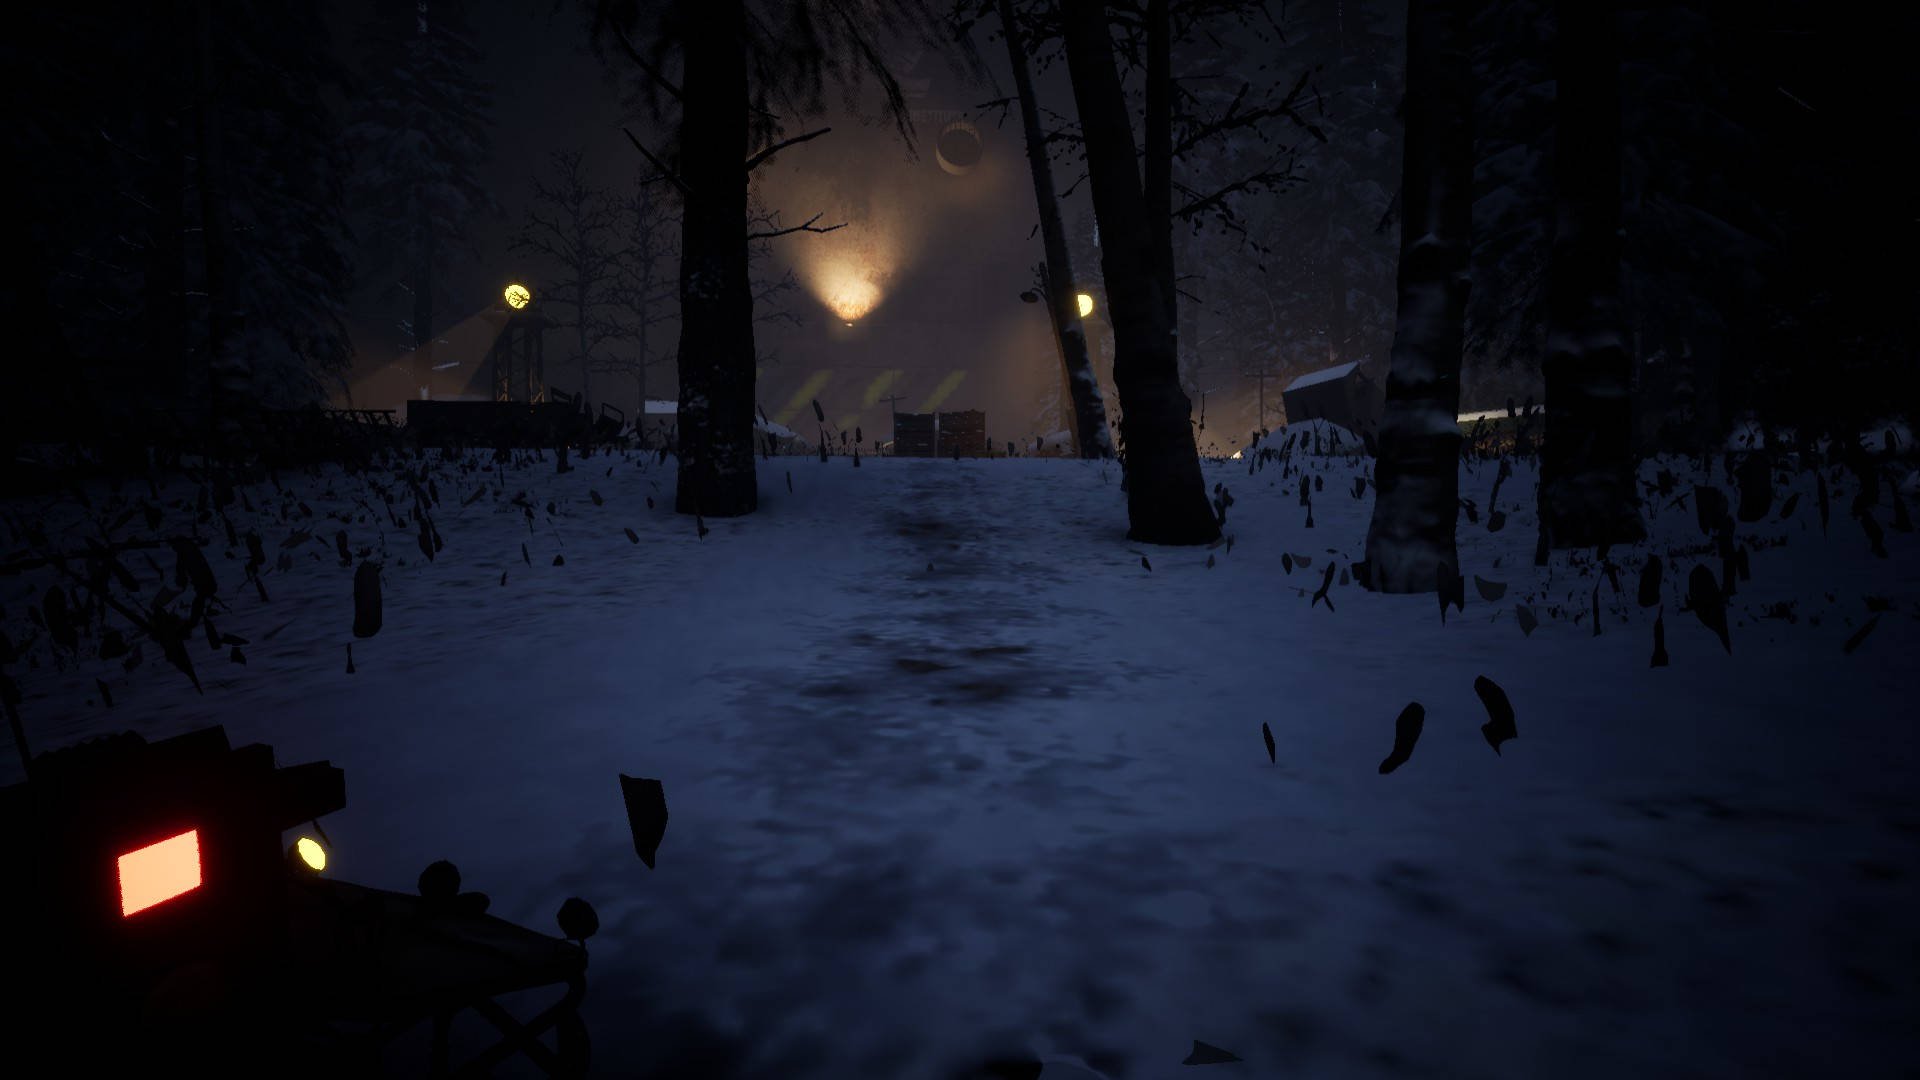
The Wall is protected by searchlights that sweep the area in front of the Trader. If a light lands on you, you’ll be shot to death. Start by saving your game before moving forward.
There’s no magic trick to getting past this point. Sprint up to a piece of cover, crouch down with Ctrl, and wait for both lights to pass you by. Then, move up to the next piece of cover, crouch, and wait for the lights to pass by again. Repeat this process, moving ahead one piece of cover at a time.
Once you get to the Trader, he’ll give you a Shelter Key Card for the locked room in your house. The defenses are now disabled and you can safely walk back to the Sled – use the Travel option to head back to the Shelter.
gear up
Once you return to the Shelter, you’ll be able to stock up on equipment. We’re going to start by looting everything that isn’t nailed down.
Start things off by opening up the locked door and equipping the Bolt-Action Rifle on the table in front of you. Then, head upstairs, turn right, and Equip the Prybar on the table.
Next, we’re going to collect supplies. With the Prybar equipped, you’ll be able to open up all of these objects and grab various materials inside:
- Radius (second floor)
- Damaged Control Cabinet (first floor)
- Control Cabinet (first floor)
- Cooker (first floor)
- Mixer (first floor)
- Coffee Grinder (first floor)
- Trashbin (first floor)
- Fridge (first floor)
- Jerry Can(s) (outside by the Old Generator and the one you put in your Sled inventory earlier)
Now that you have a whole bunch of junk, go to the Printer. Put everything into the “Resources” panel on the Old Printer, but do not put in your Bolt Action Rifle, Prybar, or Backpack!
Once you have everything loaded up, select “Break Down Resources” to convert everything to the base resources Metal, Polymer Plastics, and Electrocomponents. Then, select “Headlight Module” at the top to craft a head-mounted Flashlight.
Equip the Headlight Module and retrieve the Resources from the Printer. Use the Bed again to set your Respawn Point and save your game. Then, head out to the Sled and Travel to the Forest. Be warned, however — you’ll start losing temperature once you arrive there.
Exploring the Forest
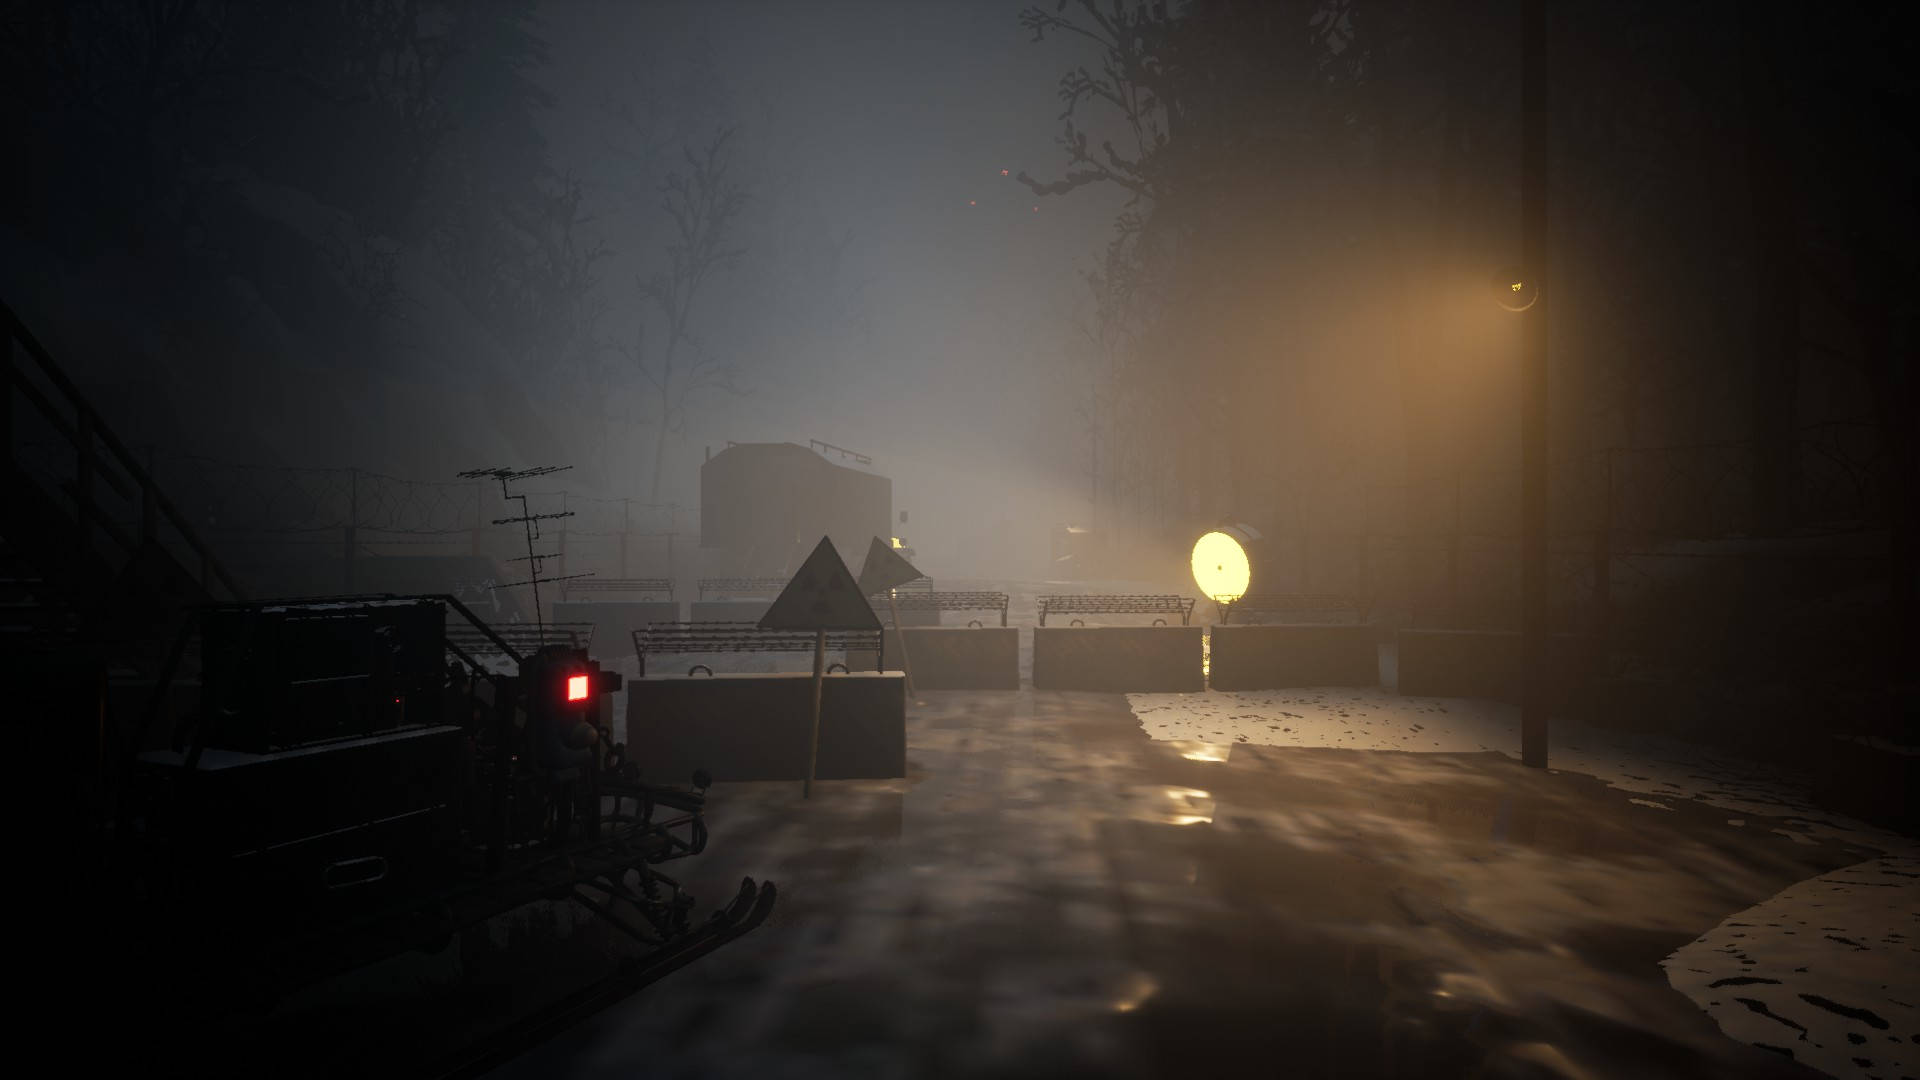
Once you arrive in the Forest, your Temperature will immediately start to decline. You are now on a timer, so let’s get moving!
First things first, go to the nearby guard tower and pick up the 7.62x54mm ammunition in there. Load your rifle with the ammo. Look inside the nearby truck and loot what you can there, too. Then head down the road, taking care to loot any containers you find. You’ll come upon a small military camp in short order.
Inspect a strange biomechanical object in the center and you’ll acquire the Signal Locator, a device that tells you how far away you are from the nearest Anomaly. Go forward and you’ll see two tents. The tent on the right has a bed, a stove, and some various items. Loot the items and set your spawn point to the bed.
Next, head over to the tent on the left. Loot items here and recharge your battery if necessary. You’ll also find a piece of Split Wood — do not dismantle it for resources. Split Wood (and Wood) are used to burn in Fire Barrels and Wood Stoves and keep you warm, and you’re going to want to hold onto as much as you can.
The left-hand tent also has a Printer of its own. It can be used to make a larger Backpack called the Mega Backpack, but you probably don’t have the necessary resources right now; we’ll be coming back here later. For now, warm yourself up using the Stove in the right-hand tent, then proceed down the left road (the bottom road on the map).
To the Workshop
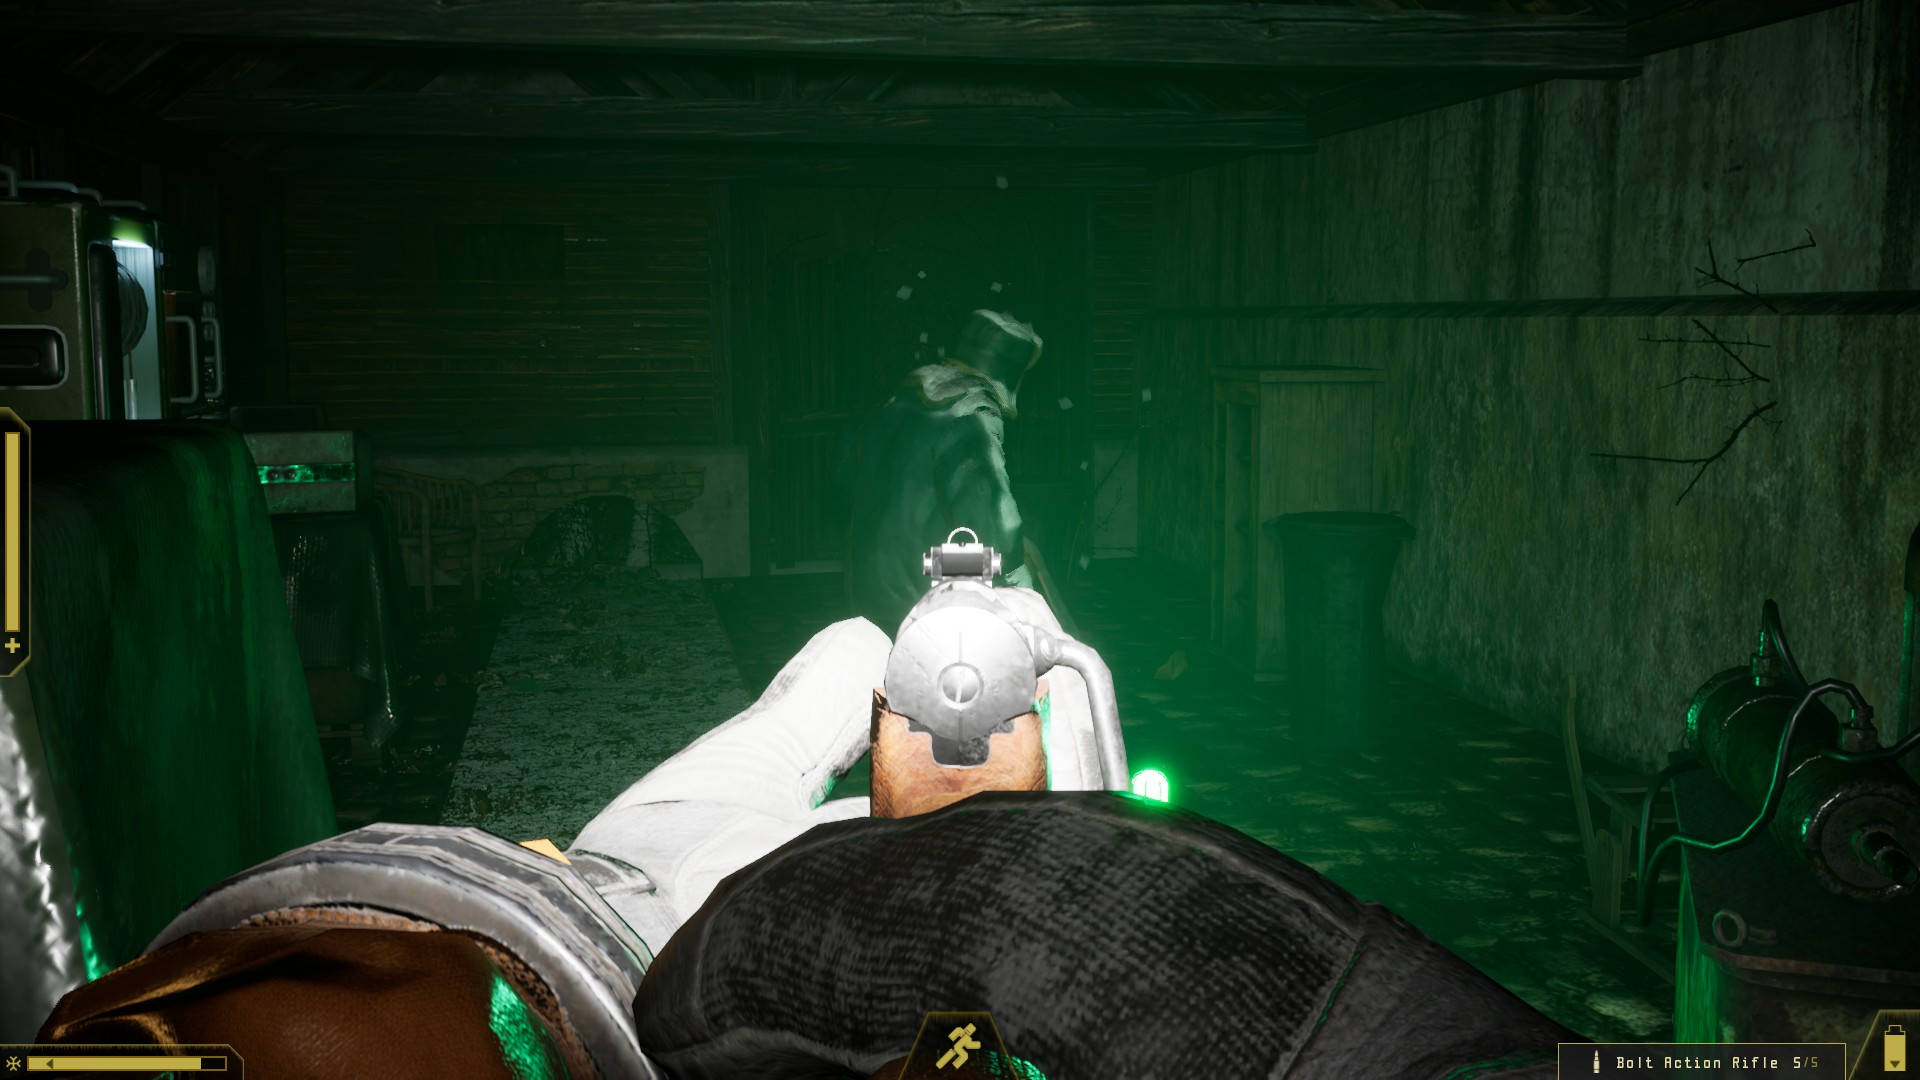
As you head down the road, you’ll come upon a couple of tank traps and a tent. Go inside and grab a piece of Wood, a piece of Split Wood, and some various loot. When you come outside, you’ll notice a green light on the road — head in that direction. Further along the road is another cabin with a green light in it. This is where you’ll see your first enemy — some kind of corrupted lumberjack. It will take 1-4 shots from your Bolt Action Rifle to kill him.
The glowing green tent has a Printer of its own that can let you make an Exoskeleton Module. Don’t craft this just yet, but keep this position in mind on the map so you can come back later if desired. Heat yourself up with the Fire Barrel if your Temperature is below 50%. Then, head back the way you came and then continue West (to the left) on the road you were just on.
You’ll encounter the Workshop further down the road. This location has a Printer that allows you to make the Gas Mask and Suit Insulation, along with a fair amount of loot. Loot everything you can in the area, make the Suit Insulation, and equip it. You’ll also find a nearby Battery — take it with you so you can recharge your Battery in the field if needed. Then, recharge your Battery with the Battery Charger near the Printer, heat yourself up at the Barrel with a piece of Split Wood, and continue on down the same road.
Heading Into the Church
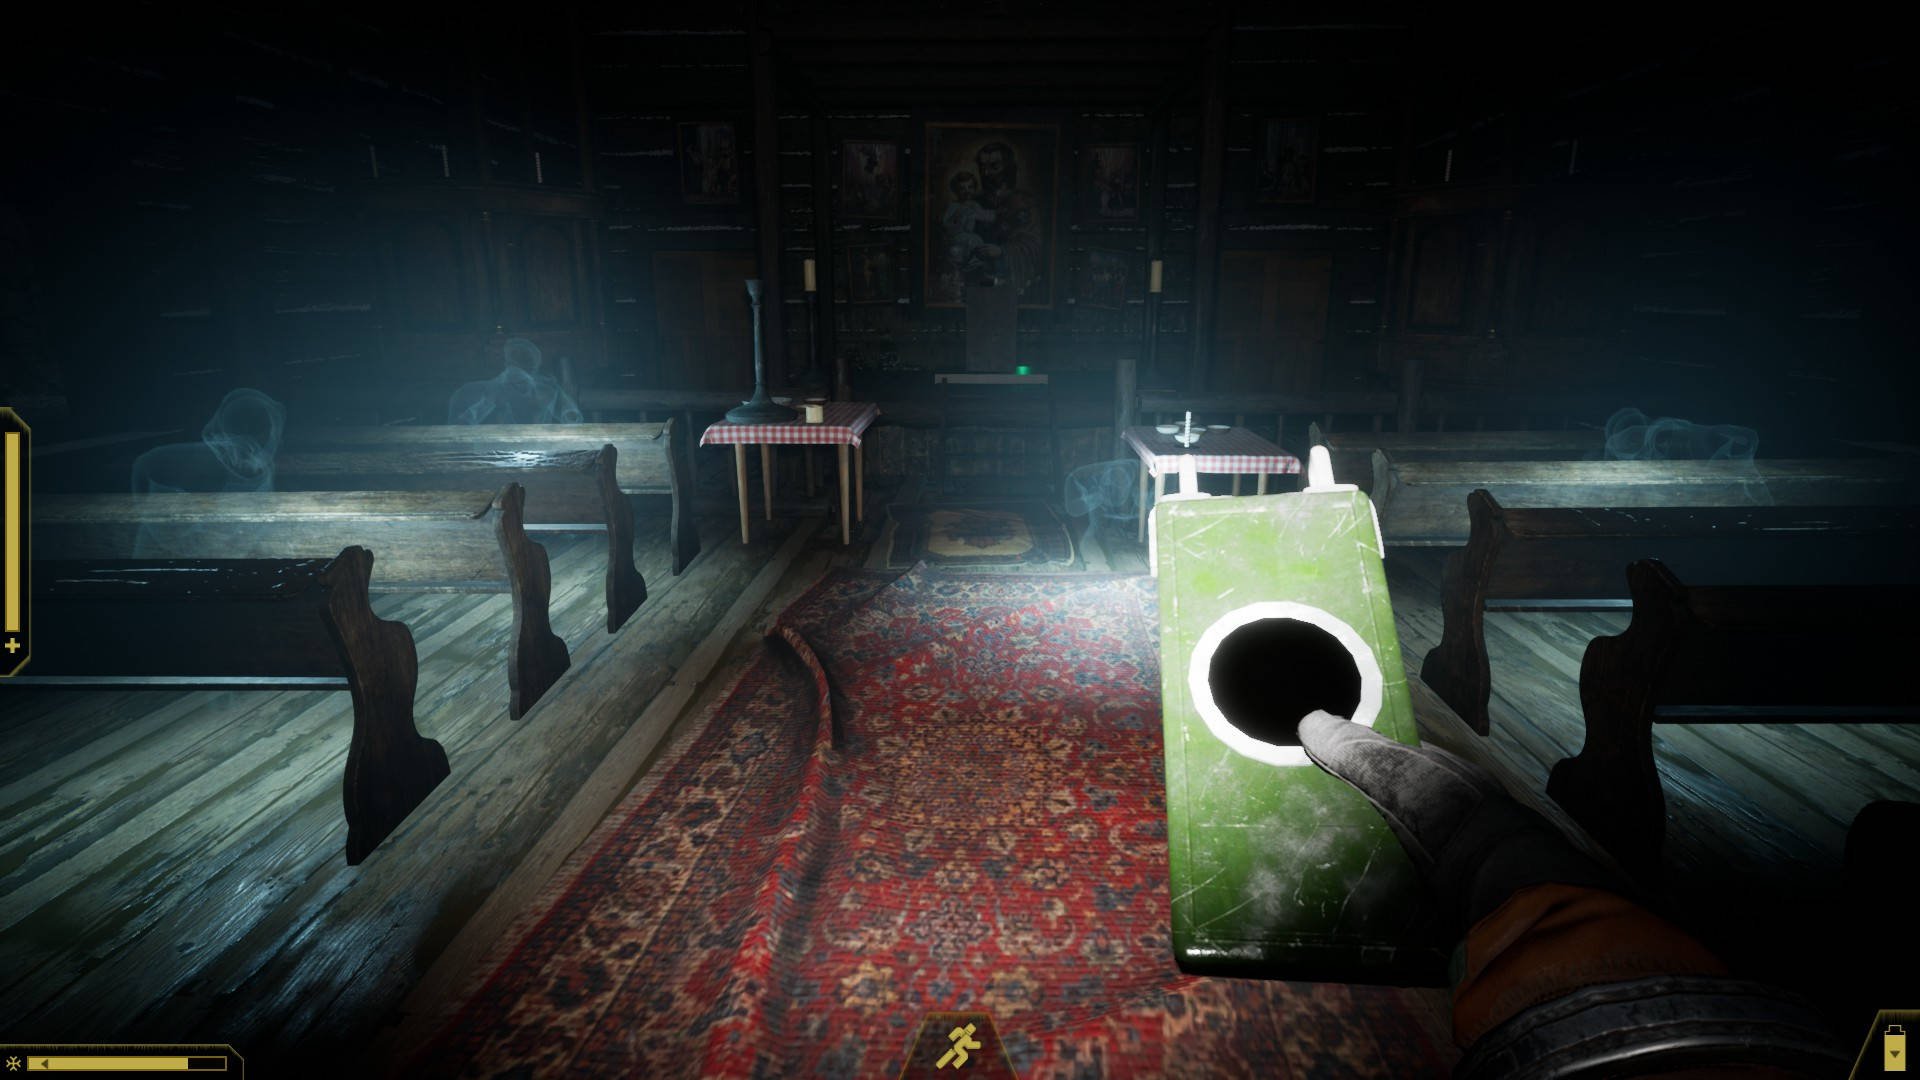
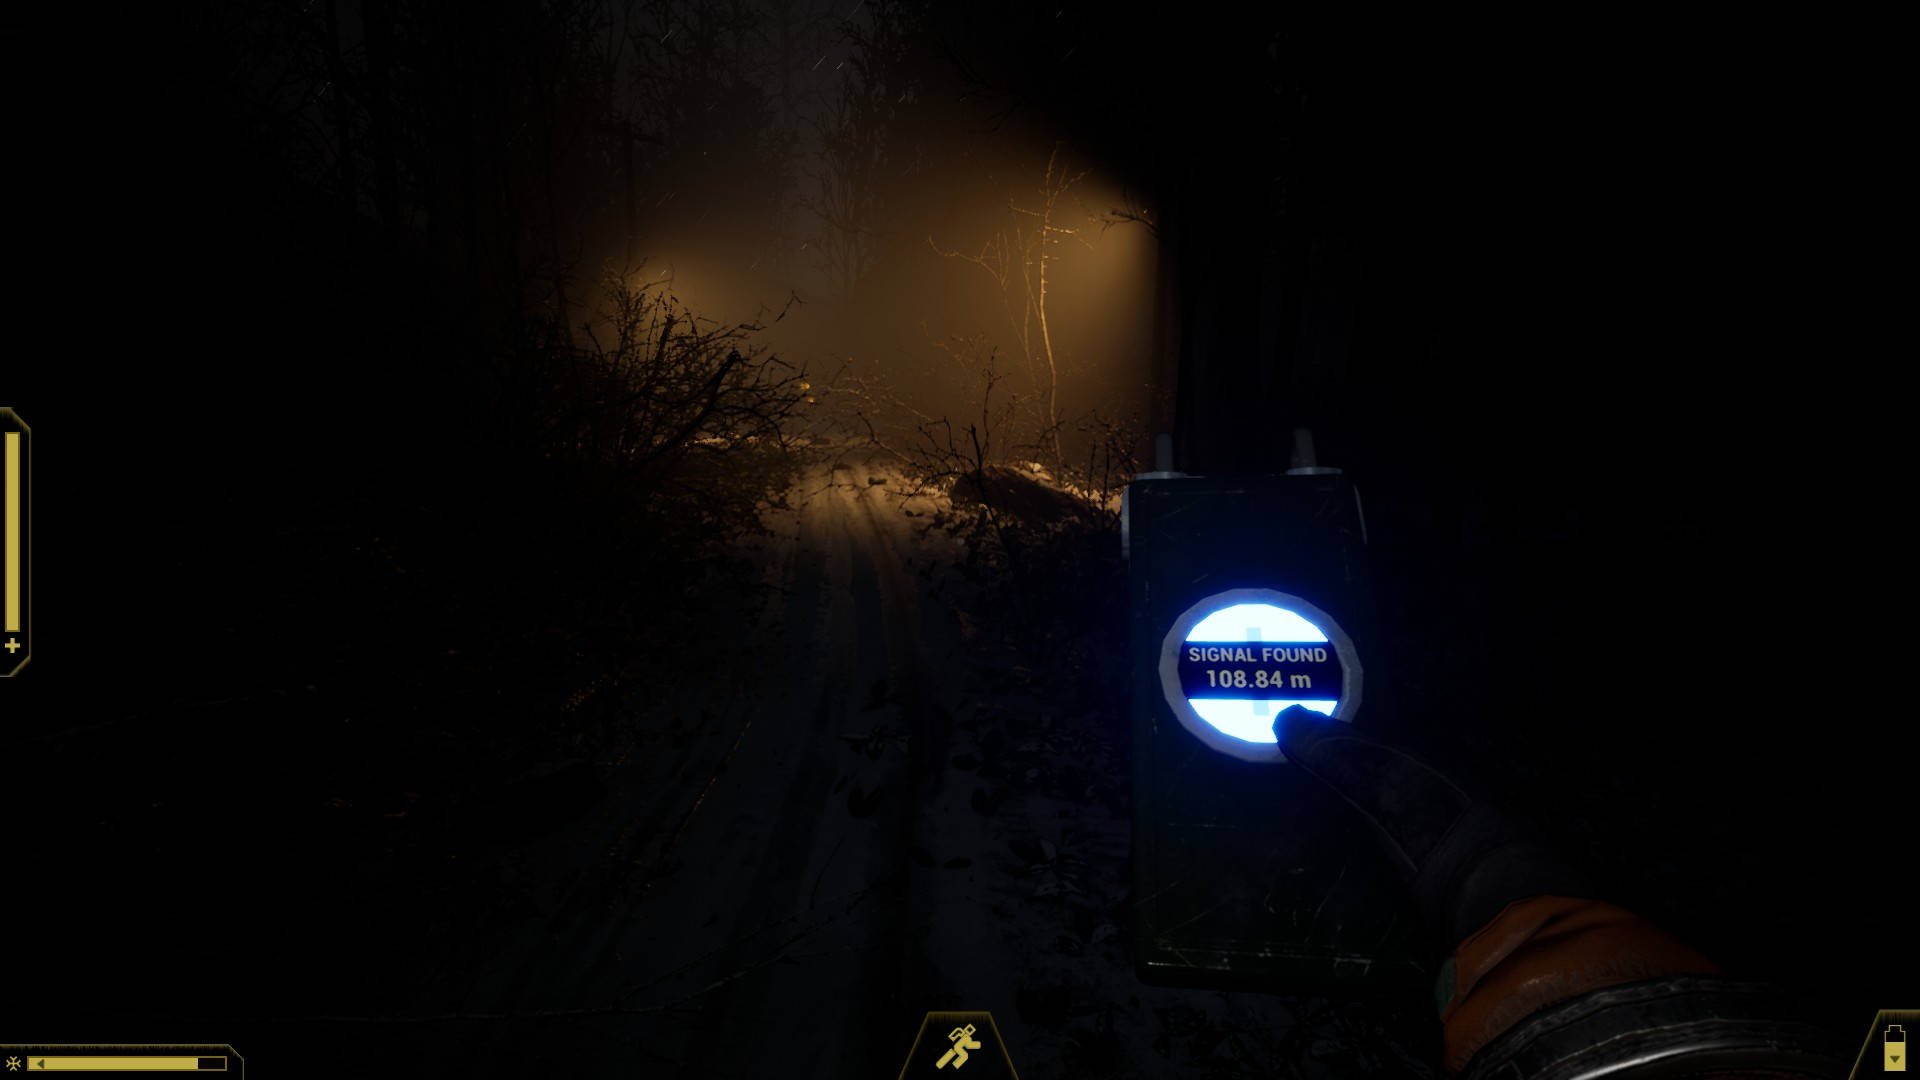
A few meters further down the road, you’ll see a path that splits off to the right. Bring up the Signal Locator and it will say you’re within 40 meters — head north and you’ll encounter the Church. Prepare for spookiness!
There are ghosts on the first floor of the Church and a Printer to the rear, but hold off on checking out any of these things for now. Head up the stairs to your left and you’ll find a ghost pointing at a fallen painting. Interact it with the painting to put it back on the wall. You’ll notice that some candles light up. There are three more paintings that have fallen on the first floor; fix those three and the Pulpit will slide aside.
Take the Ladder down and you’ll find a book on the shelf covered in red, organic tentacles. Interact with it to collect the Anomaly. Head back up the Ladder and go to the rear of the Church. You can craft a Heat Harness Module here — do so and equip it. You’ll also find a second Battery — take it with you. Break down any other junk components, then head back to the Southern road and continue heading west.
through the gates
A little further along the road is a tent with a Bed. Set your Respawn point here and your Sled will appear next to the Tent. Recharge your Battery with the Sled and restore your Temperature using the Stove in the Tent. Stash any Batteries and Wood Logs (but not Split Wood) in the Sled, then head through the lit gates to the West.
You’ll see some red containers on the right side of the road a few meters past the gate. You can find another battery here and some miscellaneous junk in the various containers. Collect everything and then continue West. Bring your Signal Detector up and you’ll find that you are getting closer to another Anomaly; it should register at around 58 meters away when you’re by a failed storage tank on the road.
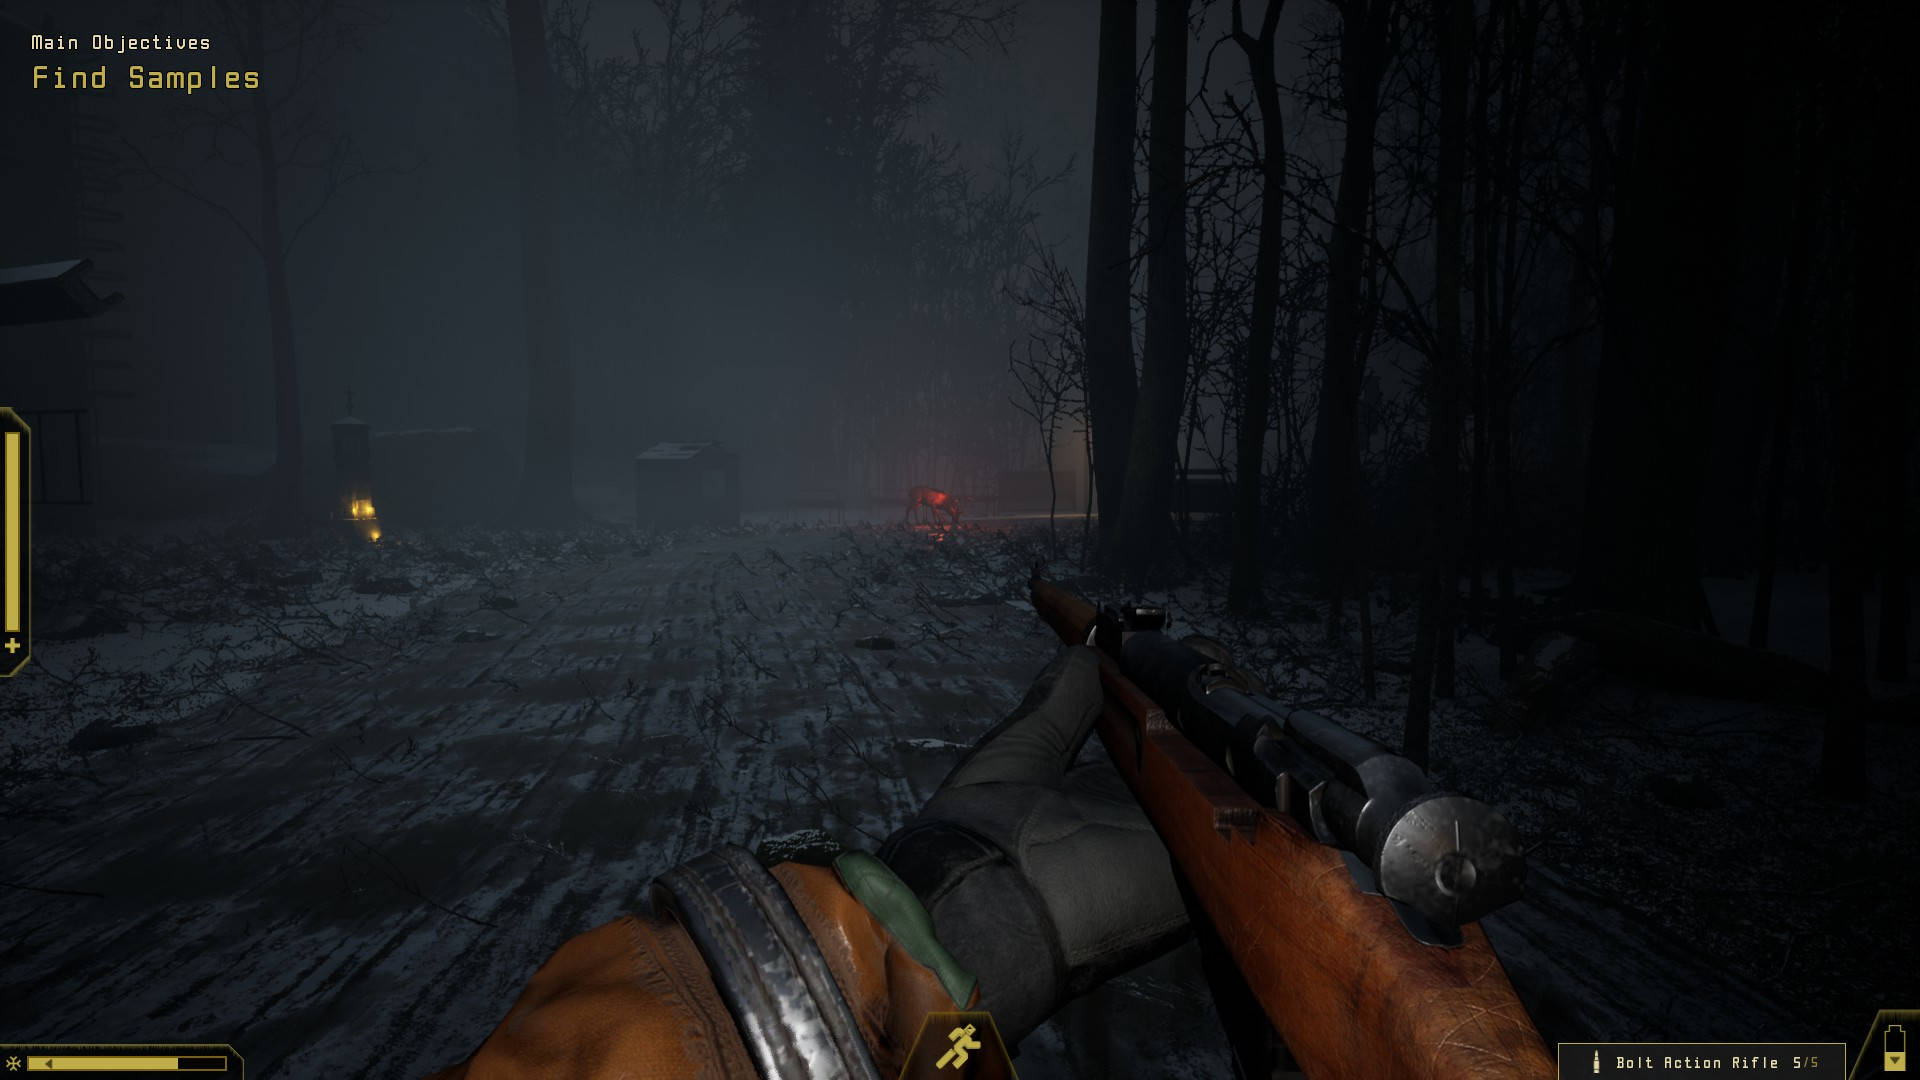
Once you’re past the tanks, you’ll see a glowing red deer on the road. Bring up your Bolt Action Rifle and shoot it. The deer will run, so chase after it and shoot it repeatedly until you’ve killed it. It will take a total of 3 shots to kill the deer.
If you try to head further down the road, you’ll notice that the map is covered in white lines. This is deadly gas, and you are not equipped to go through it just yet. For now, we’re going to turn around and head back to camp.
back to camp
Return to the Military Camp. On the way back, you may wish to craft equipment you don’t yet have in their respective Printers (such as the Gas Mask). The key item you’ll want to make here is the Mega Backpack to increase your inventory space.
Once you’re back, save at the bed and heat yourself up. There’s a lot more to explore — you might want to start heading North towards the Shelter, which is where you can find the Ax and a Splitting Block to convert Wood Logs into Split Wood. You could also craft the Gas Mask and head back through the gas to discover more Anomalies.
There’s a fair amount left to explore here and you should have the basics down by now — I don’t want to ruin the fun by spoiling the entire game. Take the knowledge you’ve learned here and see if you can unravel the mystery of the Forest. Have fun!

