

Ferment your first batch of probiotic-packed kombucha with the help of a homemade kit.

by AdobeStock / flyalone
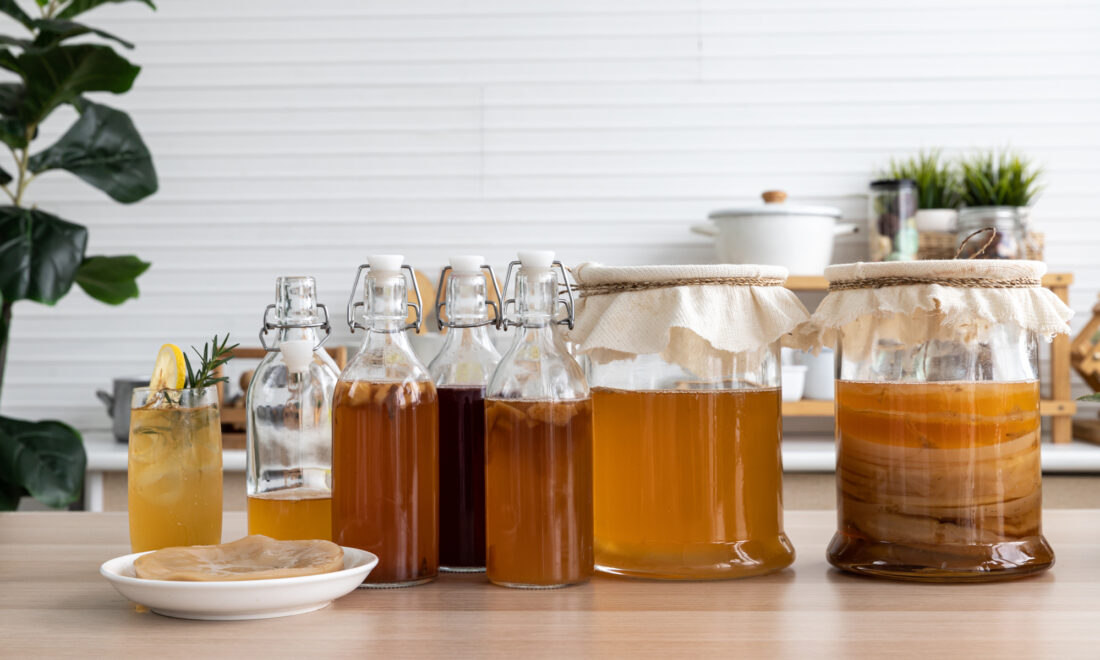
Save money by making and bottling your own kombucha tea at home, where you can customize the flavors of each batch.
After hearing all the talk about the health benefits of kombucha tea, I did a little research to see what the buzz was about. Kombucha tea is rich in probiotics and antimicrobial, which means that it improves digestive function while helping fight bacteria that can cause illness. Studies show that increased consumption of probiotics can lower cholesterol, increase energy, and support immune function. This tasty drink is also packed with antioxidants that fight free radicals, which cause damage at the cellular level.
Kombucha tea is made with a SCOBY. The term “SCOBY” is often mistaken for a fungus, when it is actually an acronym that stands for “symbiotic culture of bacteria and yeast.” When a SCOBY is added to green or black tea with sugar, fermentation occurs and the SCOBY converts the sugars into carbon dioxide, a small amount of alcohol and acids. After 1 to 3 weeks of this process, the result is a spicy and bubbly infusion with a vinegar flavor that can be modified by a second fermentation into flavors that will satisfy any palate.
Bottled kombucha is widely available, but the cost is mounting rapidly. After trying what was available at the local grocery store, I started buying individual bottles to share with my family and friends, keeping my fridge stocked. Soon after, everyone in my household (myself included) was given a one-day limit to prevent us from quickly gulping down expensive drinks. To address our pricey cravings, I researched how kombucha was made. The recipe and preparation seemed pretty simple, and with a little patience for the fermentation process, we could be sipping our own kombucha tea in just over a week.
To get started brewing homebrew, I skipped picking up supplies one by one and opted for the Kombucha Brew Now Jar Kit from the MOTHER EARTH NEWS store. The kit is perfect for beginners. It came complete with just about everything I needed: a SCOBY kombucha culture, a strong starter liquid, Hannah’s special tea blend for the perfect kombucha, reusable muslin tea bags, evaporated organic cane juice sugar, a container of fermentation, a recycled cotton cloth cover, a rubber band, and an electronic guide with batching and continuous brewing instructions. All he had to provide was purified water.
The simple instructions guided me through the process without a hitch. Even if you are not a genius in the kitchen, if you can boil water, you can make kombucha tea at home.
From Kit to Kombucha
Before I started, I used vinegar to sanitize my hands and the bowl, because an antibacterial dish soap residue will harm living SCOBYs.
Then I heated 4 cups of purified water to a boil and took it off the stove. I let the water cool for 1 to 2 minutes before adding it to the brew container, making sure the container wasn’t too cold so it wouldn’t crack. I added the tea bags and let them steep for 7 to 15 minutes. After removing the tea bags, I added the organic sugar. The recipe calls for ¾ to 1 cup, but up to 2 cups of sugar can be used; it is a matter of trial and preference. Remember, sugar is what converts the SCOBY. Once the sugar had dissolved, the recipe called for adding another 8 to 12 cups of purified water. Eight cups was all that would fit in the provided brew container. This lowered the temperature of the tea to lukewarm and made sure it was not above body temperature to avoid damaging the live culture. Next, I added the SCOBY and the provided starter fluid cup.
After covering the brew container with the recycled cloth and rubber band, I found a cozy, well-ventilated place that does not get direct sunlight and let the brew ferment for 7 to 21 days. The optimal temperature for the fermentation process is between 75 and 85 degrees Fahrenheit. The kit included a thermometer strip for the side of the container, so it was easy to monitor the temperature. Warmer room temperatures produce faster results, and the longer kombucha tea is allowed to ferment, the stronger the flavor.
Once the process was complete, I used a fine strainer and funnel to prepare my homebrew for a second fermentation. Unless you see mold, the brew is safe to consume at this point. (Usually what is mistaken for mold is actually a SCOBY growth. Mold on kombucha looks like mold on bread. It is dry, fuzzy, and settles on the crop, usually in white circles. , black or green). Or this is where the process can take a creative turn if flavored tea is desired. Organic juices, fresh and frozen fruit, and rinds are great flavor options. For my first batch, I used what I had on hand and added frozen strawberries from the garden. As well as adding a unique flavor, the second fermentation made the brew more fizzy.
The kit came with a large amount of organic tea to make multiple batches, so I immediately started brewing a continuous batch and prepared the container to ferment again. Because SCOBY grows and multiplies rapidly, you will eventually need a “SCOBY hotel” in which unused crops can flourish when they are not actively fermenting an infusion. Or you can make multiple containers of kombucha tea with the extras. I was able to get a second canister up and running shortly after starting continuous batching, and my family is still drinking the beneficial drink faster than I can get it in the fridge.
Christine Stoner is the editor of Gas Engine Magazine. He is passionate about fitness, healthy living and sustainability.
Posted Jan 4 From 2022
RELATED POSTS
Learn how to build a coffee roaster machine and learn how to operate it to achieve the perfect roast for you.

Make the Juleøl of the season with this Giant Ice Cream Juleøl recipe to enjoy with family and friends over the holidays.

Make refreshingly simple artisan seltzers by adding your own twist and flavorings with a homemade kit.

.